Wireless RGB Gaming Microphone: Boom Arm Setup Tips
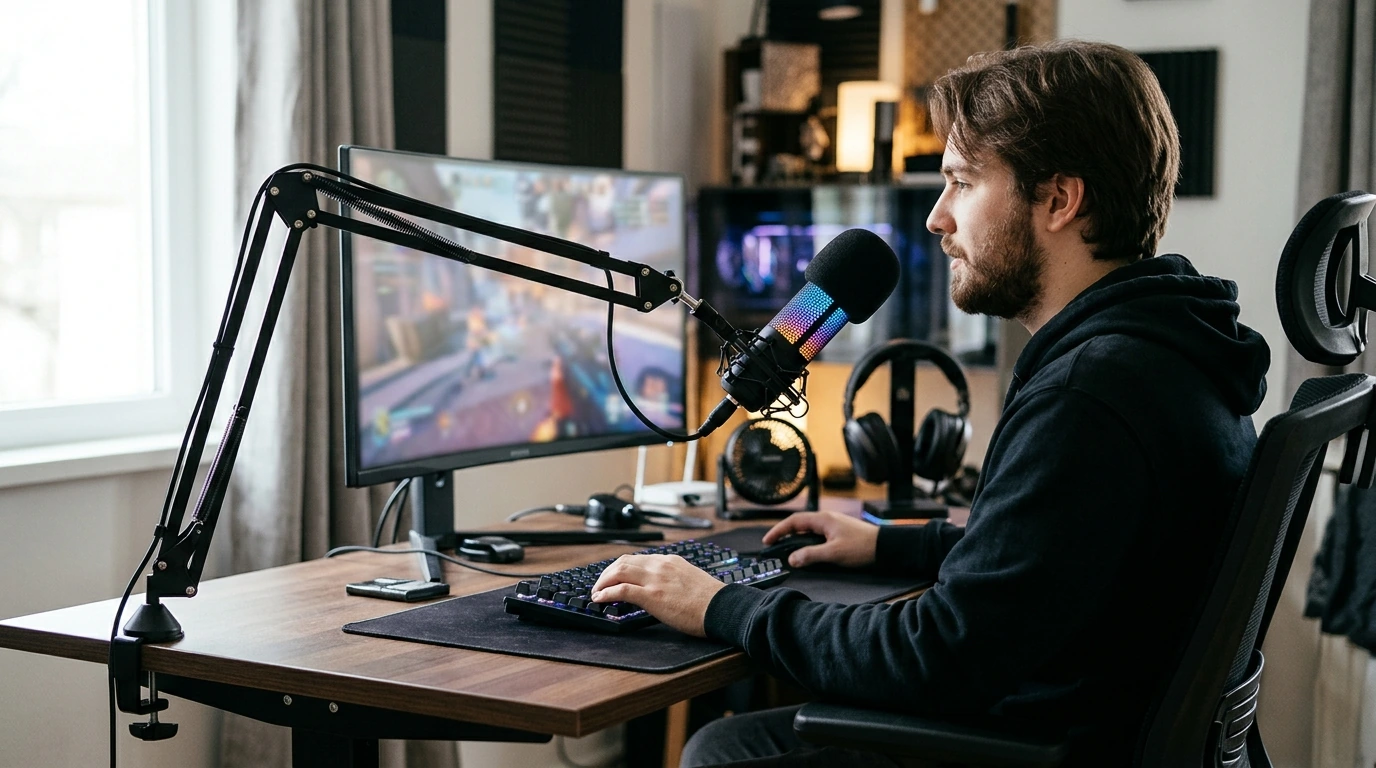
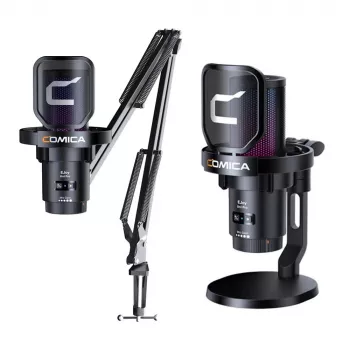
A good gaming setup should let your voice come through without making your desk feel crowded. Our Wireless RGB USB Gaming Microphone with Noise Cancellation & Boom Arm brings together three features many players look for: flexible placement, RGB lighting, and help with unwanted background sound. The best way to decide whether it fits your setup is to consider where the mic will sit, what your room sounds like, and how you plan to connect it. For more guidance, see Best Gaming Mic – Great Research.
Give Your Mic a Better Place on the Desk
A boom arm gives you another option besides setting a microphone directly in front of your keyboard. You can bring the mic closer when you join a call, then move it aside when you need your desk for something else. That flexibility is especially useful if your monitor, controls, and everyday work already compete for space. For further reading, see Gaming Equipment Condenser Microphone RGB for ….
Start with the microphone near mouth level. Position it slightly to the side of your direct breath rather than directly in front of it, then speak at your normal volume. If your voice sounds uneven as you turn toward the screen, adjust the arm until the mic stays comfortably within speaking range. You should be able to sit naturally—not lean forward every time you talk.
Before settling on a position, move the arm through the range you expect to use. Make sure it does not interfere with your monitor view, keyboard hand, or other desk gear. The RGB lighting can add a visual accent to your setup, but it is separate from how your voice sounds. Prioritize a comfortable mic position first, then arrange the lighting where you enjoy it.
What Noise Cancellation Can—and Can’t—Do
Noise cancellation may help reduce unwanted background sound, but it is not a promise that every keyboard tap, fan, or voice elsewhere in the room will disappear. Your room, mic placement, input level, and app settings all affect what other people hear. Speaking closer to a well-positioned mic can help keep your voice prominent without relying entirely on processing.
For a useful test, record yourself while the sounds you normally play with are present. Type as you would during a game, leave your usual fan running, and listen back at a typical playback volume. If your voice is too quiet, first try bringing the mic a little closer. If it sounds harsh or distorted, review the input level before adding more processing.
Your software may offer its own noise controls. For example, OBS Studio’s guide to its Noise Suppression filter explains a software option for reducing mild background noise in recordings and streams. It is worth comparing a short sample with your app’s processing on and off; more suppression is not always the setting that sounds most natural for your voice.
Match the Connection to Your Setup
The microphone’s name includes both “wireless” and “USB,” so do not assume that every computer, console, or mobile setup connects or powers it in the same way. Review the current connection and power details on the microphone product page for the device you intend to use. Confirm compatibility with your chat, streaming, or recording app before you buy, too.
It helps to separate two questions: “Can I connect it to my device?” and “Can my preferred app select it as an input?” Both matter. If you switch between gaming and calls, plan to verify the input selection in each app rather than assuming a setting in one will carry over to another.
A Quick Setup Check
| Your priority | What to check | First adjustment to try |
|---|---|---|
| Clearer team chat | Input device selected in the chat app | Place the mic near mouth level |
| Less desk clutter | Room to position the boom arm | Move the mic off the main work surface |
| Streaming or recording | Input level in the recording app | Make a short test recording |
| Matching your setup | Connection and device compatibility | Confirm details before checkout |
A Simple Routine Before You Go Live
A consistent check takes less effort than troubleshooting after a match or recording. Position the arm, select the microphone as your app’s input, speak at a normal volume, and listen back to a brief recording. Say a few sentences at the volume you actually use during play; a whisper test will not tell you much about an excited team call.
Listen for two separate issues: whether your voice is easy to understand and whether background sounds are distracting. If you are too quiet or your voice distorts, adjust the input gain or app settings and record another sample. Change one thing at a time so you can tell which adjustment helped. Test in the same room conditions you normally use, since a quiet-room recording may miss the fan, keyboard, or game audio present later.
If you stream regularly, a repeatable pre-session checklist can keep these small steps from getting lost among your other tasks. Our Ultimate Productivity Blueprint is a separate digital guide for building routines; your mic check can be as simple as a note beside your usual start-up steps. The goal is to hear what your audience or teammates will hear before you begin.
FAQ
Will noise cancellation remove keyboard sounds completely?
No. It may reduce unwanted sound, but results depend on your room, microphone placement, and app settings. Make a test recording while you type normally to hear the result.
How should I position a boom-arm gaming microphone?
Start near mouth level and slightly off to the side of your direct breath. Speak naturally, listen to a test recording, and adjust the arm until your voice sounds clear without an awkward sitting position.
Does this microphone work with my gaming device?
Check the product page’s connection, power, and compatibility details for your specific device, then confirm that your intended app supports the microphone as an input. Do not assume universal support.














Leave a comment